If there's one thing I'm not, it's Artistic! I wasn't born with a single creative gene. However, I love looking at Pinterest and seeing all the things I could make, and this weekend I decided to put one to the test!
I fell in love with this pantry door. How hard could it be to paint a door? I'd rather paint one tiny door than an entire kitchen! I really don't like to paint! Actually, it's the taping of the trim and crown molding that I hate and this required none of that!
I love the blue they used so I tried to do something similar that would go in my kitchen. The antique look they gave it really adds a lot! I should have read instructions first because my clueless self thought you painted over the blue door to give it that finished look. So after I had already gone to Home Depot and gotten all my supplies (besides the "top coat" for the antique finish) I realized you painted a darker color underneath the blue coat and then sanded it. So I just went with a dark beige paint we already had.
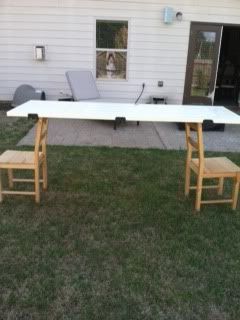
Step 1. Remove the door from the hinges and remove the door knob. I used 2 chairs to place the door on top which made it really easy to paint. Doing it out in the sun helped the paint dry in less than 30 minutes.
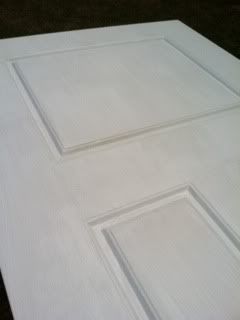
Step 2. I painted the door with a base coat that is supposed to replace sanding. Home Depot helped me find the correct paint for this.
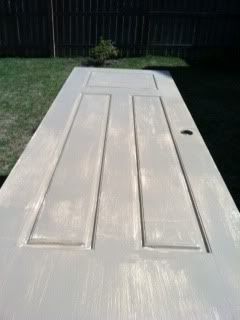
Step 3. Add your color you want to show up when sanding the door to give it the antique look. I used a brown color we already had. If I had to do it over again I would have done a 2nd coat and probably gotten a darker color that would show up better.
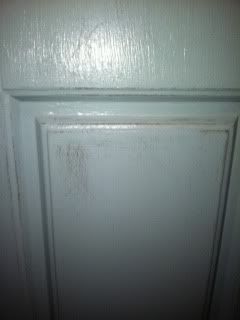
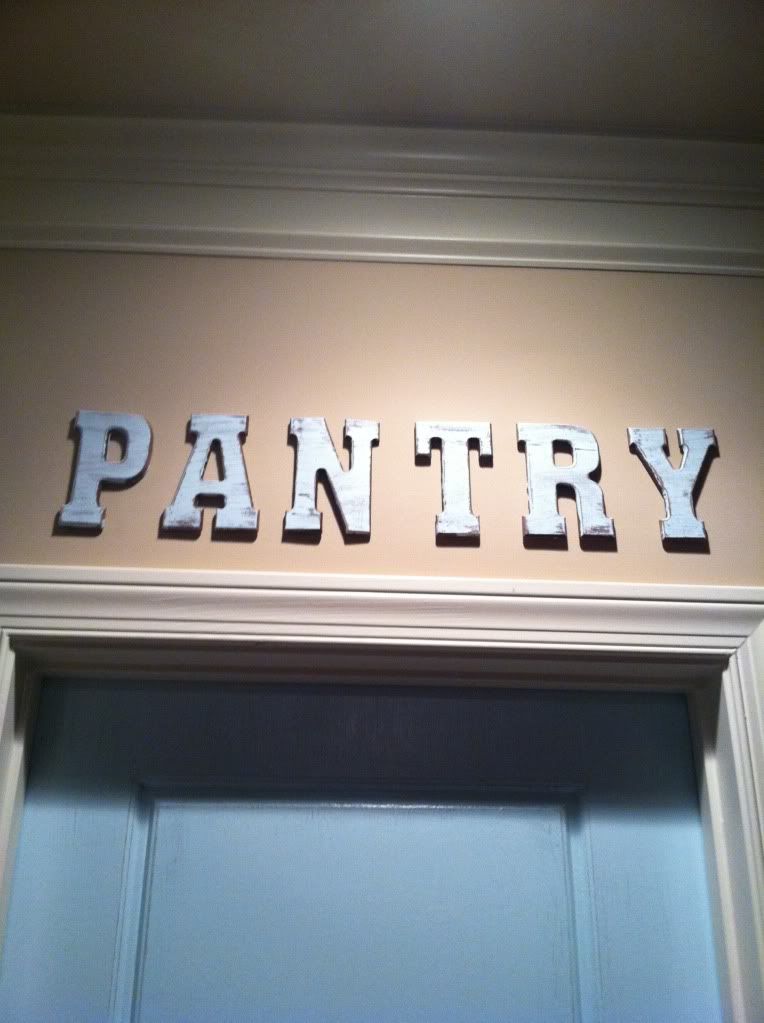
Step 4. Paint your top coat. I used a very pale blue. After it dries use sandpaper to sand in the creases of the door. Here's a picture of the details since you can't really see them in the overall picture below.
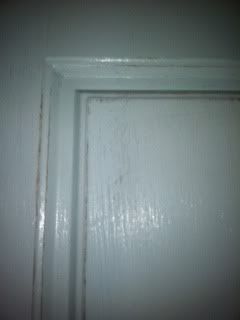
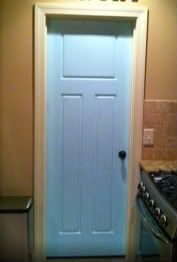
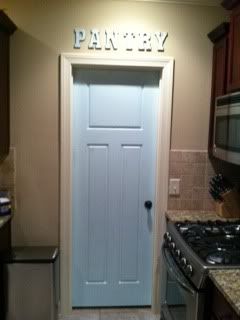
Step 5. Put your door back! It was really hard for me to get a good picture. I don't have a good camera and the lighting wasn't the best. But you get the idea!


